Authorize.net Accept Hosted
Installation
Extract os_dms_authnetaccepthosted_unzip_first.zip to find the plugin package and three PHP files.
- Install
os_dms_authnetaccepthosted.zipfrom Documents Seller → Payment Plugins. See Install New Payment Plugin. - Upload
authaccepthosted_dms_cancel.php,authaccepthosted_dms_return.php, andauthaccepthosted_dms_webhook.phpto your site's root folder. - If you use the Admin Tools Pro .htaccess Maker, add the three files under Exceptions from Server Protection and regenerate the
.htaccessfile so the files are accessible.
Configuration
-
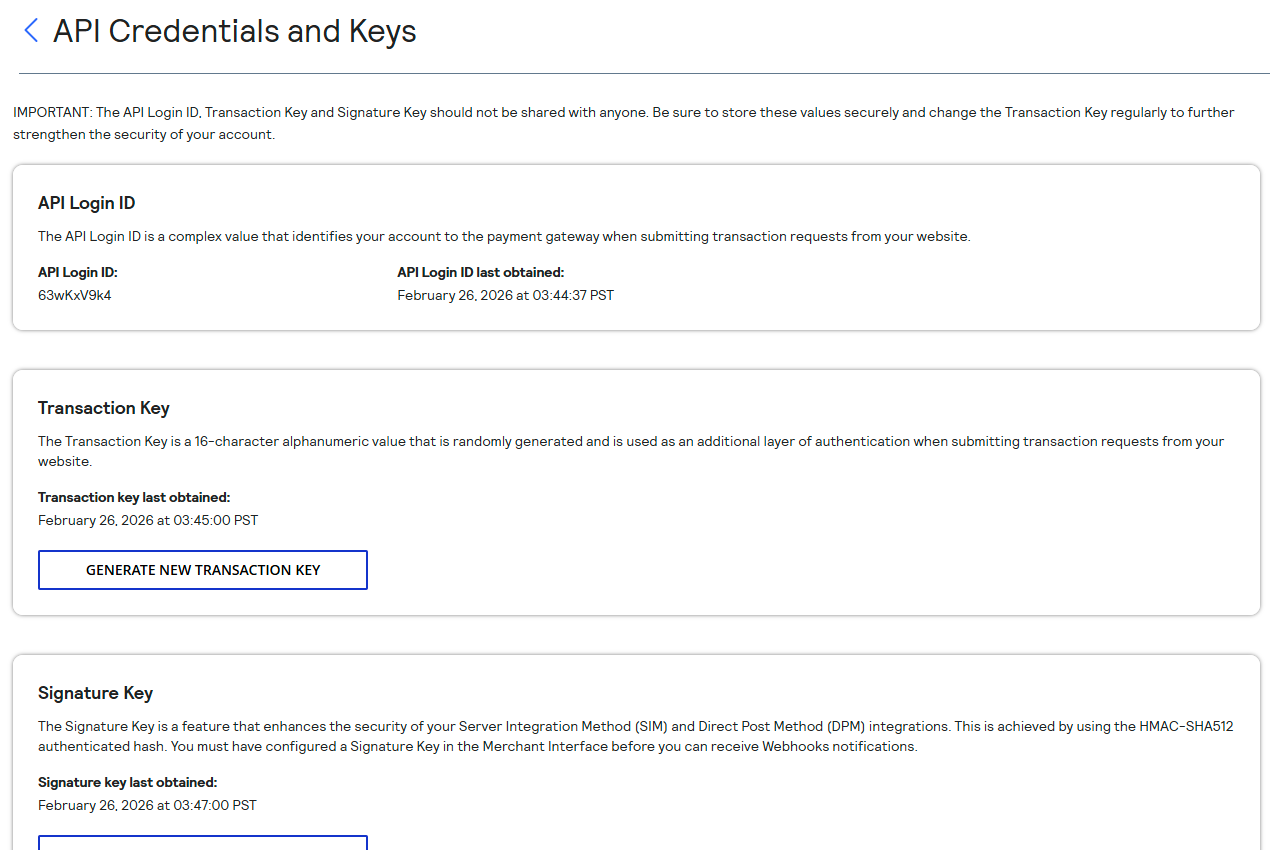
Sign in to your Authorize.Net account and go to Account → Account and API Settings → API Credentials and Keys. Get your API Login, Transaction Key, and Signature Key, generating the keys if needed.
-
Open the os_authnetaccepthosted plugin and enter the credentials in the corresponding fields.
-
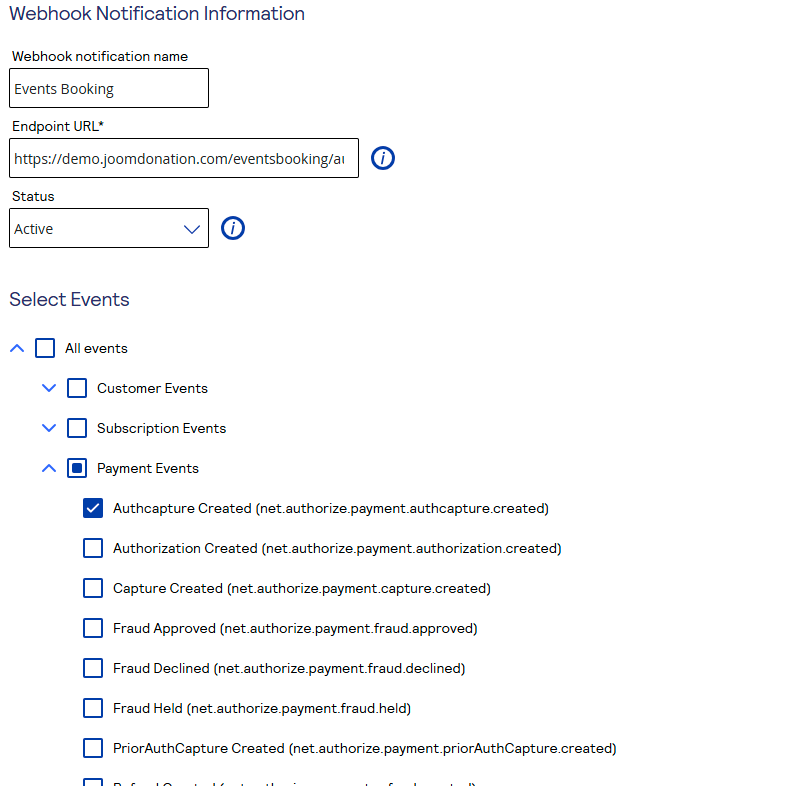
In your Authorize.Net account, go to Account → Account and API Settings → API Credentials and Keys → Webhooks and create a webhook. Use the URL below, replacing
https://yourdomain.comwith your site URL.https://yourdomain.com/authaccepthosted_eb_webhook.php -
Select Authcapture Created (
net.authorize.payment.authcapture.created) for the webhook.