Add New Custom Field
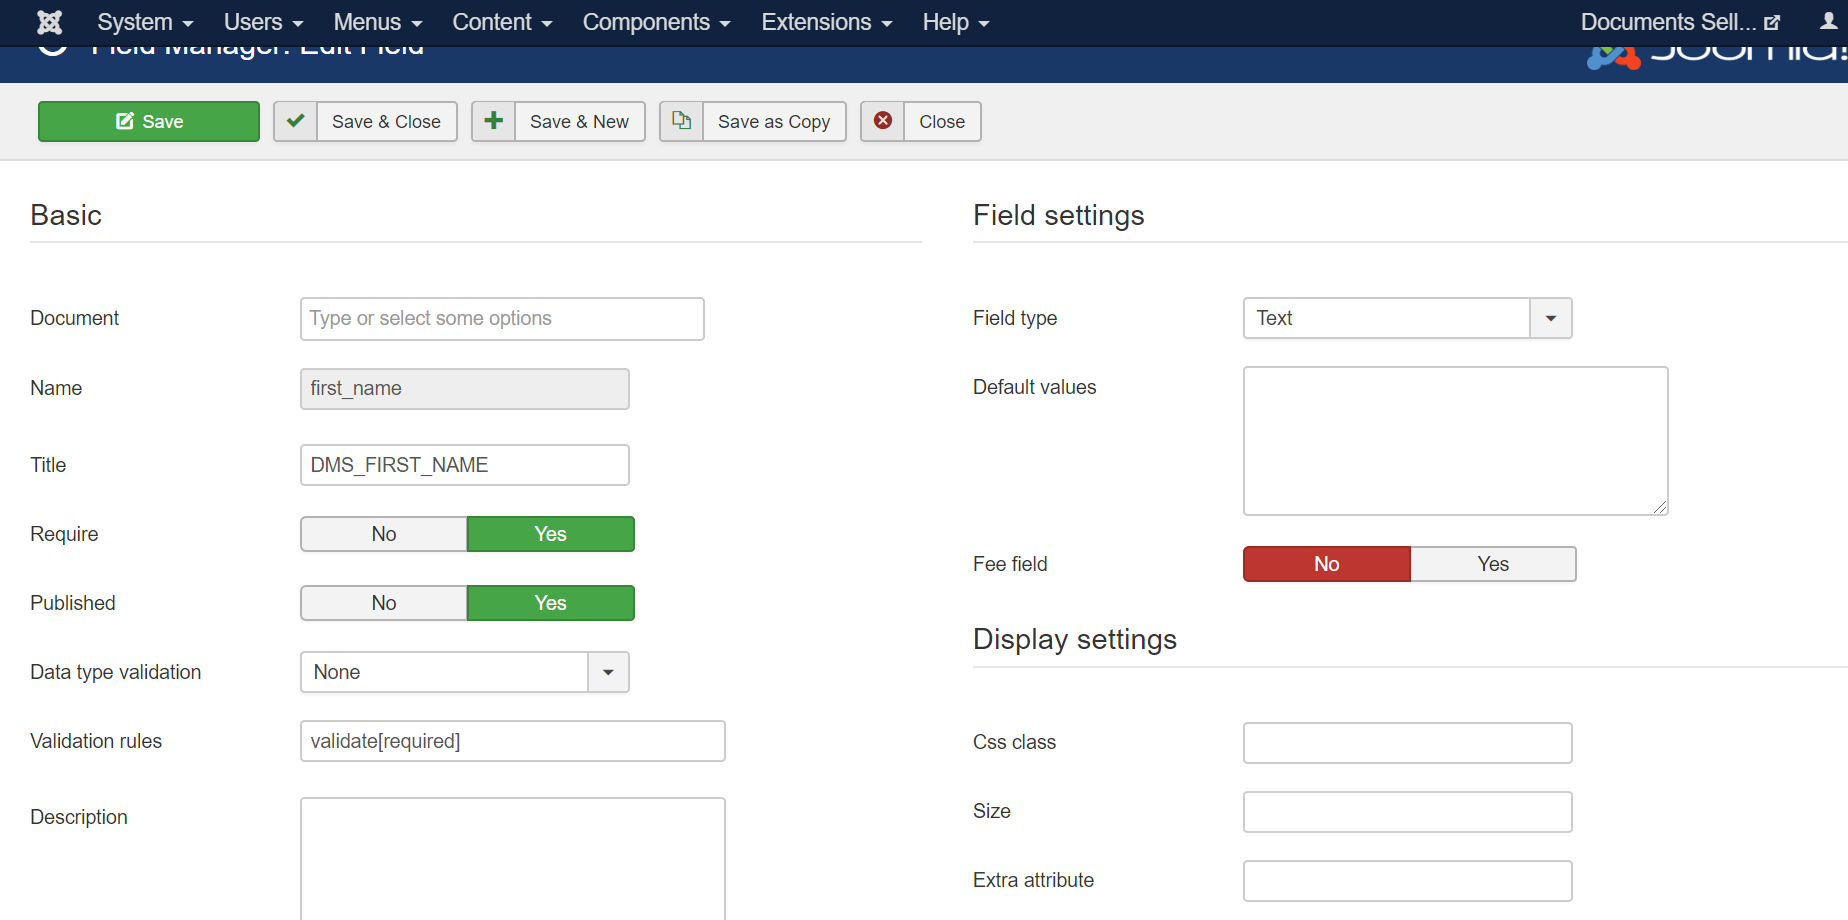
From custom fields managemenet screen, press New button in toolbar to add a new custom field. When setup a cuustom fields, the following information will need to be entered:
General Information
- Document: Select the document(s) this custom field will be assigned to. By default, custom field will be assigned to all documents. You can assign it to individual document you want (use Ctrl + Click to select multiple documents)
- Name: The name of custom field. Please only use the folowing character for field name: a-z, A-Z, 0-9. No space, no special characters in the field name.
- Title: The display title of the field.
- Field Type: Chose the type of the field.
- Description: For most of field types, the description will be displayed when users hover over the title of the field. For Message field type, the description will be displayed as a message on order form.
- Required: If set to Yes, users will have to enter a value (or select an option) for the field. If it to No, the field will be optional
- Default Values: The default value of the field will be used to fill-in the field automatically when subscription form first displayed to subscriber. For List (Multiple Select), Checkboxes custom field types, each default selected option must be entered in a separate line.
- Data Type Validation: Usually use for Text custom field type. It forces customers to enter data for the field in a required format. When you select an option in this property, the corresponding Validation Rules will be generated.
- Validation Rules: This is usually used for Text custom field type, and it will be generated automatically when users select Data Type Validation of the field (mentioned above). The extension uses JQuery Validation Engine to validate data users enter on subscription form, so if you want to take full advantage of this validation engine, please read the documentation at http://posabsolute.github.io/jQuery-Validation-Engine/ to see all powerful validation rules which you can use to validate data of the custom fields.
- Fee Field : Set to Yes if this is a custom fee field. Then the value which subscribers enter / select for this field will be calcualted the additional fee (beside the price of the subscription plan) which subscribers will have to pay for their subscriotion.
- Fee formula: You can use [FIELD_VALUE] and math operator : +, -, * , / to calculate fee value for this field. It is usually used for textbox field type. You can use other custom fields in the fee formula with the syntax [NAME_OF_CUSTOM_FIELD_IN_UPPERCASE]
List (single & multiple select), Radio, Checkboxes specific settings
The settings below will only be displayed (and needed to setup) for single & multiple select, Radio, Checkboxes custom field types
- Values: The list of options available for subscribers to select. Each option need to be displayed in one separate line.
- Fee Values: The fee values corresponding to the options above. Each fee value must be a float number and must be entered in one separate line. There is a mapping 1-1 between the option and fee value. This only need to be entered if Fee Field set to Yes
Display settings
These settings below will be used to control how the field is displayed in the system
- Multiple: Only use for List custom field. If you want the select dropdown to be multiple select, set this to Yes. Otherwise, set it to No and It will be a single dropdown
- Css Class: If you want to apply a css class for this custom field so that you can style it, add the css class into that property.
- Extra attribute: Any other html attributes you want to add to the field. The most popular usecase is that if you want a textbox custom field to be readonly, you can enter readonly into this property